Setting Up Verified Commits On Github

Hi, I am Vivek, a 26 years old developer from India. I love making apps. You can check my github for some of my open source projects.
We've all seen that verified badge on GitHub commits when we edit something straight from Github Web UI. Surely you've wondered why it doesn't show up when you push something from the terminal, even though you successfully authenticated yourself with the correct username and password. I mean it should show up because it is you who are making those changes, Right?
Well turns you need to set up GPG keys for your machines in order to have that luxury. In fact, there is an official guide from Github telling users how to set up these keys. Honestly, that's the one I used when I was trying to figure out how this all works. If you're interested you can check the official guide here.
Creating a new GPG key
First, you need to install the GnuPG Binary for your operating system. You can download the same from here.
Now that you've installed the binary, go ahead and open up a terminal.
Use the command below to generate the GPG key
gpg --full-generate-key
First Enter your Full Name.
If prompted, specify the kind of key you want, or press Enter to accept the default RSA and RSA.
Next if asked you need to set the maximum recommended key size to 4096.
Next, enter the expiry date for key expiry.
Enter your user ID information.
Make sure that you enter the verified email address for your GitHub account when entering the email. To keep your email address private, use your GitHub-provided no-reply email address. For more information, see "Verifying your email address" and "Setting your commit email address".
Last, type a secure passphrase.
Use the gpg --list-secret-keys --keyid-format LONG command to list GPG keys for which you have both a public and private key. A private key is required for signing commits or tags.
From the list of GPG keys, copy the GPG key ID you'd like to use. In this example, the GPG key ID is 3AA5C34371567BD2:
$ gpg --list-secret-keys --keyid-format LONG
/Users/hubot/.gnupg/secring.gpg
------------------------------------
sec   4096R/3AA5C34371567BD2 2016-03-10 [expires: 2017-03-10]
      57D3288AAF1EC3AA5C34371567A243S0946AA2
uid                 Vivek Kaushik <your_email@gmail.com>
ssb   4096R/42B317FD4BA89E7A 2016-03-10
Use the command below, substituting in the GPG key ID you'd like to use. In this example, the GPG key ID is 3AA5C34371567BD2:
$ gpg --armor --export 3AA5C34371567BD2
# Prints the GPG key ID, in ASCII armor format
Copy your GPG key, beginning with -----BEGIN PGP PUBLIC KEY BLOCK----- and ending with -----END PGP PUBLIC KEY BLOCK-----.
Adding a new GPG key to your GitHub account
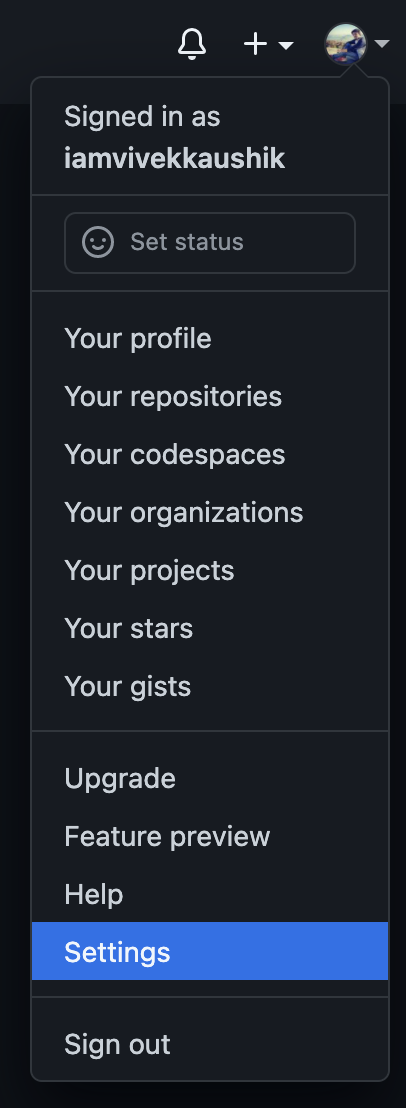
In the upper-right corner of any page, click your profile photo, then click Settings.
In the user settings sidebar, click SSH and GPG keys.

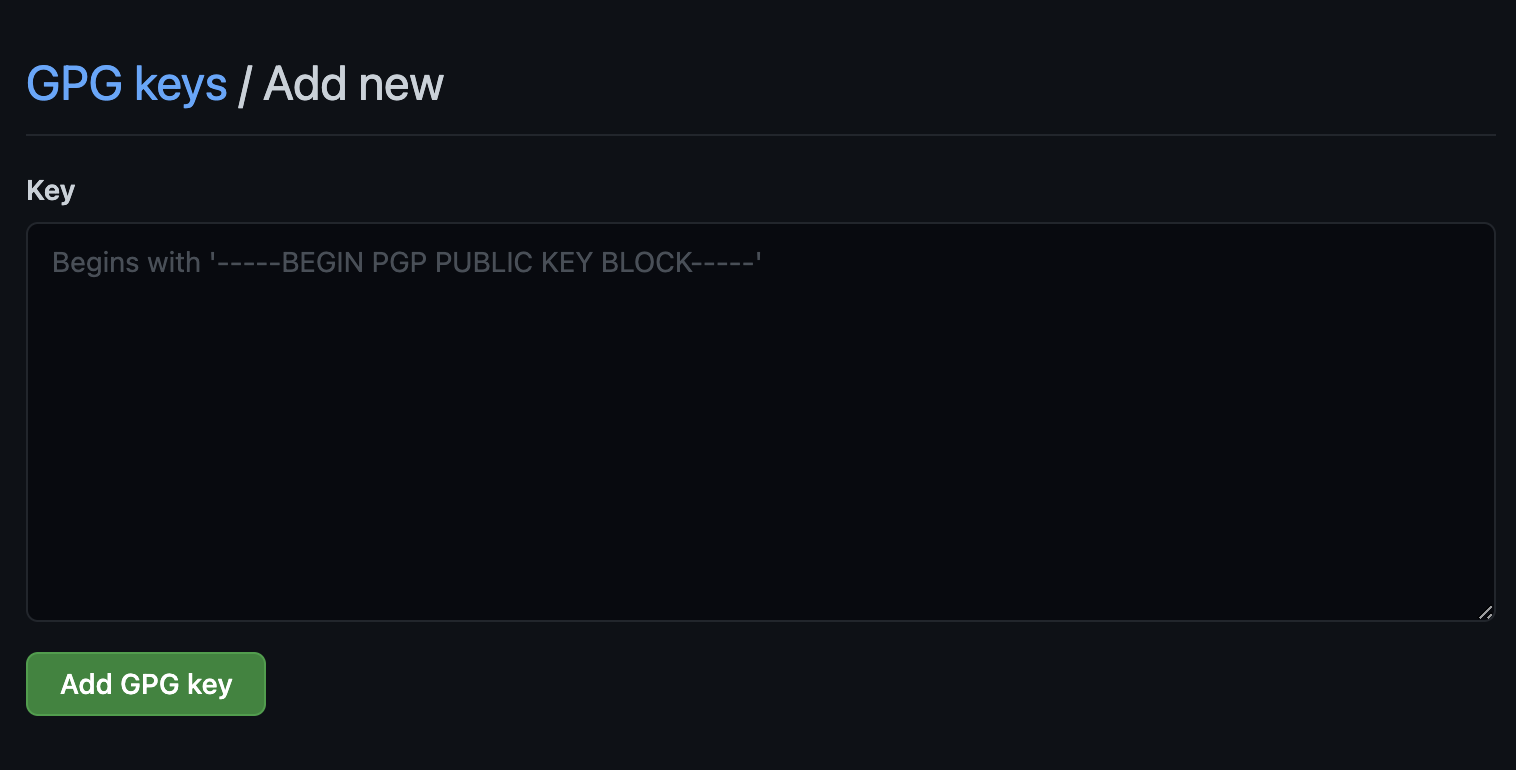
Click New GPG key.

In the "Key" field, paste the GPG key you copied when you generated your GPG key and then click on Add GPG key.
Telling Git about your signing key
Use the gpg --list-secret-keys --keyid-format LONG command to list GPG keys for which you have both a public and private key. A private key is required for signing commits or tags.
$ gpg --list-secret-keys --keyid-format LONG
/Users/hubot/.gnupg/secring.gpg
------------------------------------
sec   4096R/3AA5C34371567BD2 2016-03-10 [expires: 2017-03-10]
      57D3288AAF1EC3AA5C34371567AB0020946AA2
uid                 Vivek Kaushik <your_email@gmail.com>
ssb   4096R/42B317FD4BA89E7A 2016-03-10
To set your GPG signing key in Git, paste the text below, substituting in the GPG key Hash you'd like to use. In this example, the GPG key Hash is 57D3288AAF1EC3AA5C34371567A243S0946AA2:
git config --global user.signingkey 57D3288AAF1EC3AA5C34371567A243S0946AA2
To configure your Git client to sign commits by default, in Git versions 2.0.0 and above, run
git config --global commit.gpgsign true
Now all you need to do is commit and push your code as you regularly do.